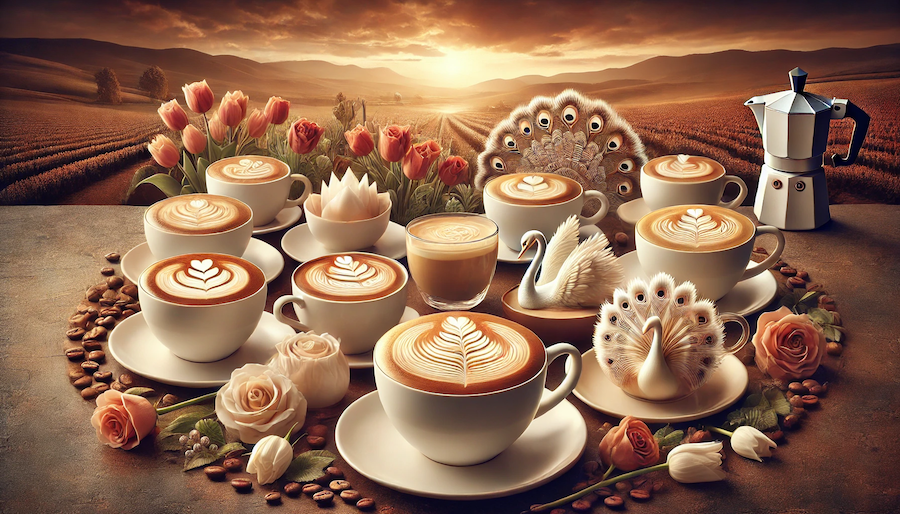
Latte art has taken the coffee world by storm, transforming a simple cup of coffee into a canvas for creativity. Whether you’re a home barista or just someone who loves a good brew, learning how to craft beautiful latte art is not only satisfying but also a great way to impress both friends and seasoned baristas. Imagine the joy of serving a cup of coffee with a perfectly poured heart, a stunning rosetta, or even a whimsical swan. It’s these little touches that elevate the coffee experience, making each sip a little more special.
In this article, we’ll explore some of the best latte art designs that you can try at home. From beginner-friendly patterns to more advanced creations, there’s something here for everyone. So, grab your milk frother, warm up your espresso machine, and let’s dive into the delightful world of latte art!
The Basics of Latte Art: Setting the Foundation
Before diving into the specific designs, it’s essential to understand the basics of latte art. The key to great latte art lies in the milk texture and the pouring technique. Properly steamed milk should have a velvety microfoam that blends seamlessly with the espresso, creating a smooth canvas for your designs.
Understanding Milk Texture:
Achieving the right milk texture is crucial for latte art. The milk should be silky, with fine bubbles that create a glossy sheen. To achieve this, you’ll need to steam your milk until it’s around 140-150°F (60-65°C). This temperature ensures that the milk is hot enough to froth but not so hot that it scalds.
Essential Tools for Latte Art:
To get started with latte art, you’ll need a few basic tools: a quality espresso machine, a milk frother or steam wand, and a milk pitcher with a spout. The pitcher’s spout helps control the pour, allowing you to create intricate designs.
Basic Pouring Techniques for Latte Art:
There are two main pouring techniques in latte art: free pour and etching. Free pour is when you create designs while pouring the milk, and etching involves drawing designs on the surface of the coffee with tools. We’ll focus on free pour, which is the foundation of most latte art designs.
Beginner-Friendly Latte Art Designs: Start Simple, Impress Big
When you’re just starting out, it’s best to begin with simpler designs that still have a wow factor. These beginner-friendly latte art designs are perfect for building your confidence.
Latte Art Heart:
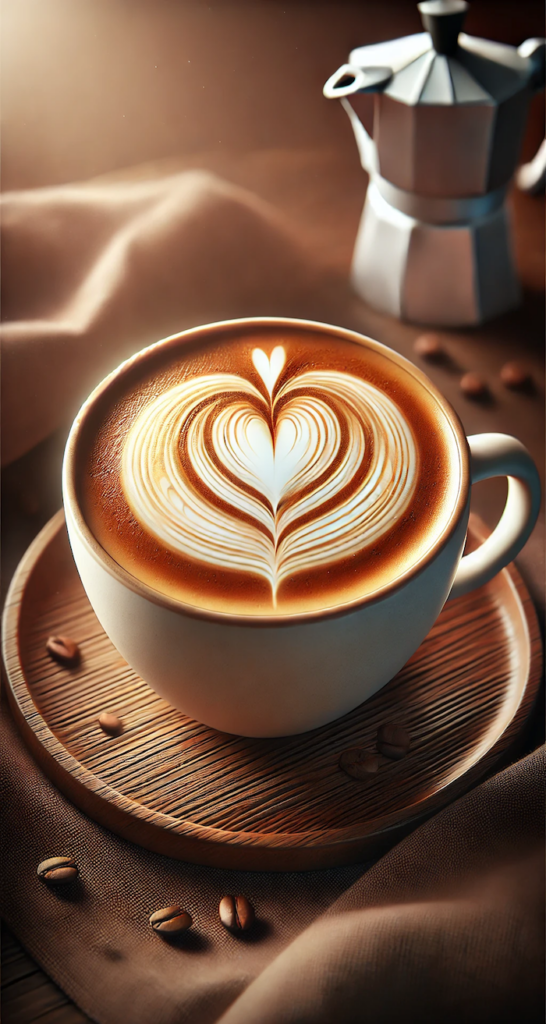
The heart is one of the most iconic latte art designs and a great place to start. Begin by pouring the milk into the center of the espresso. As the cup fills, bring the pitcher closer to the surface, and as the white foam starts to form, gently wiggle the pitcher back and forth to create the heart shape. Finish with a quick pull through the center to complete the heart.
Latte Art Rosetta:
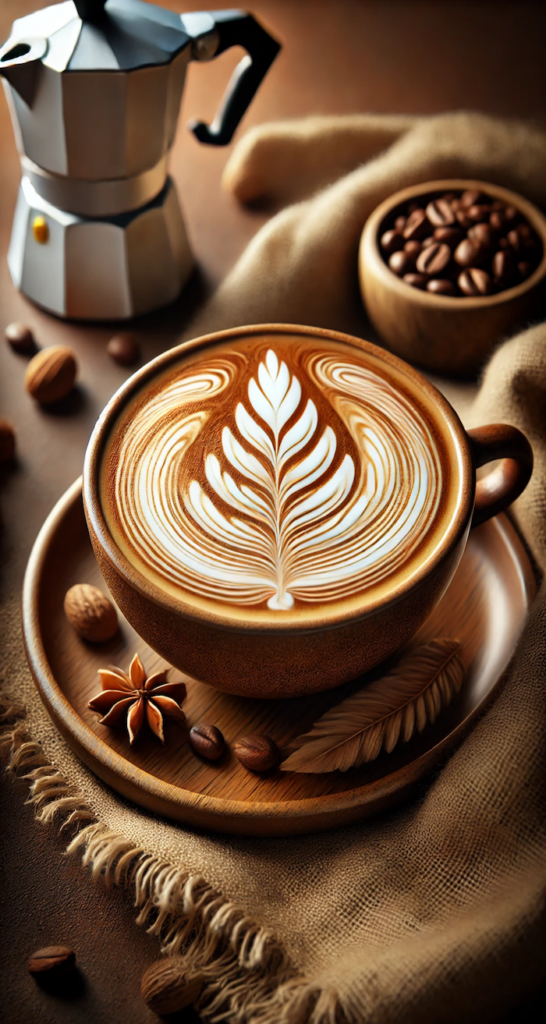
The Rosetta is an elegant design that adds a touch of sophistication to your coffee. To create this design, start by pouring the milk into the center, just like with the heart. As you pour, move the pitcher from side to side while gradually pulling it back toward the edge of the cup. This motion will create the leaf-like pattern that defines the Rosetta.
Latte Art Tulip:
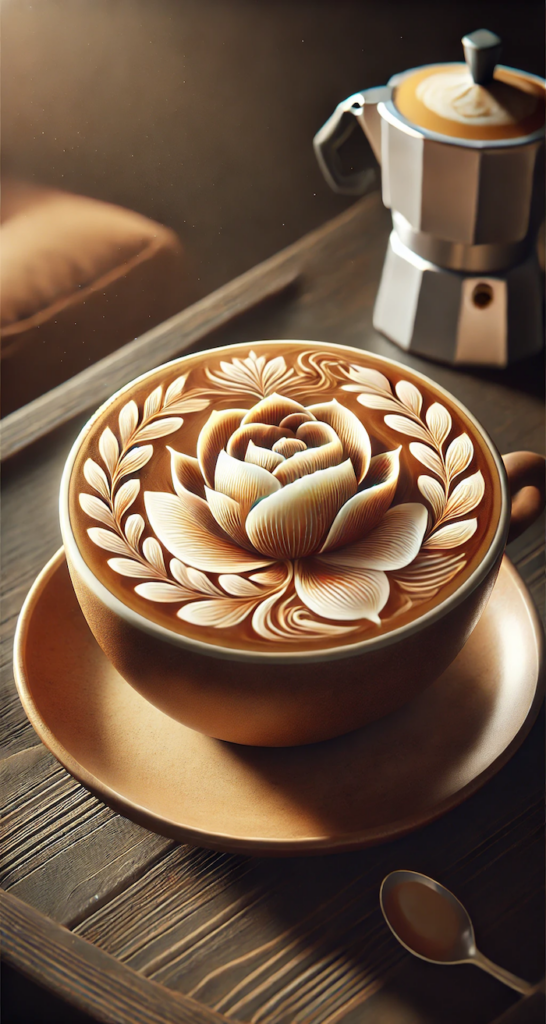
The Tulip builds on the heart and Rosetta techniques. Pour the first heart but stop short of pulling through. Repeat the process above the first heart, creating layers. Finally, pull through all the layers to form the stem of the Tulip.
Advanced Latte Art Designs: Take Your Skills to the Next Level
Once you’ve mastered the basics, it’s time to challenge yourself with more intricate latte art designs. These designs require a steady hand and a bit more practice, but the results are truly impressive.
Latte Art Swan:
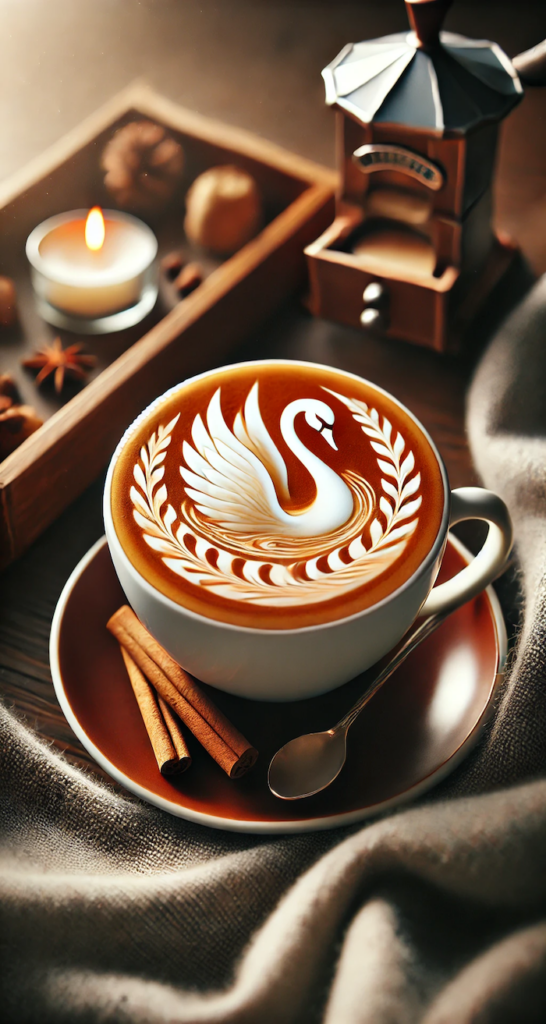
The Swan is a favorite among seasoned baristas and a fantastic way to show off your latte art skills. Start by creating a Rosetta for the body of the Swan. As you finish the Rosetta, pull the pitcher forward to create the neck, and use a quick, controlled motion to form the head and beak.
Latte Art Peacock:
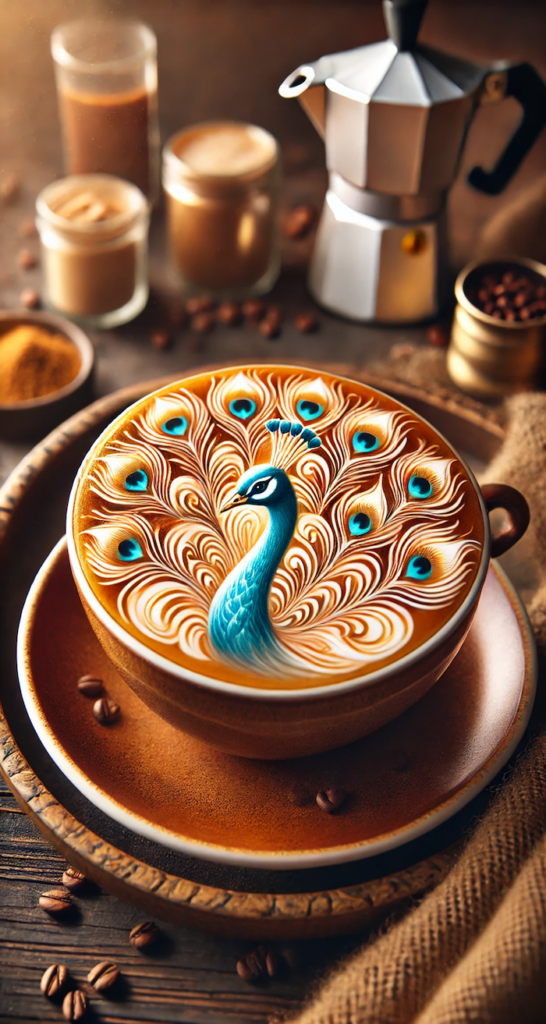
The Peacock design is as intricate as it is stunning. After pouring a base like a Rosetta, use a fine tool (like a toothpick) to draw out the feathers, adding colorful accents if desired. This design is a true showstopper and will undoubtedly impress anyone you serve it to.
Tips for Perfecting Your Latte Art: Practice Makes Perfect
Becoming a latte art pro doesn’t happen overnight, but with a little patience and practice, you can get there!
Practice Techniques for Latte Art:
Consistent practice is key to mastering latte art. Start with simple designs and work your way up. Try pouring each design multiple times, refining your technique with each attempt.
Troubleshooting Common Issues in Latte Art:
If your latte art isn’t turning out as expected, don’t be discouraged. Common issues like milk separation, poor contrast, or distorted designs can usually be corrected with a few adjustments. Focus on maintaining the right milk texture and pour speed.
Incorporating Personal Style in Latte Art:
Latte art is as much about creativity as it is about technique. Don’t be afraid to experiment and develop your own style. Whether it’s adding a unique twist to classic designs or creating entirely new patterns, your latte art should reflect your personality.
Showcasing Your Latte Art: Sharing the Joy
Latte art is meant to be shared, and there are plenty of ways to showcase your creations.
Hosting a Latte Art Party:
Why not invite some friends over for a latte art party? It’s a fun way to practice your skills and get feedback. You can even host friendly competitions to see who can create the best designs.
Sharing Latte Art on Social Media:
Social media platforms like Instagram and TikTok are full of latte art enthusiasts. Share your creations with hashtags like #LatteArt and #HomeBarista to connect with others who share your passion. Don’t forget to tag @ECoffeefinder to be featured!
Enjoy the Journey of Mastering Latte Art
Creating beautiful latte art is a journey that combines skill, patience, and creativity. Each cup you make is an opportunity to improve and express yourself. So, whether you’re just starting or you’re already crafting intricate designs, remember to enjoy the process. With time and practice, your latte art will not only impress your friends and baristas but also bring a smile to your face every time you pour.
Ready to take your latte art skills to the next level? Share your creations with ECoffeefinder.com’s community and keep exploring the endless possibilities in the world of coffee. Happy pouring!
Ultimate Latte Art Tool Kit for Home Baristas
Whether you’re a beginner or an experienced coffee enthusiast, having the right tools is essential for creating impressive latte art. Our Ultimate Latte Art Tool Kit includes everything you need to start pouring beautiful designs right at home. Here’s what we recommend:
1. Espresso Machine: Breville Barista Express
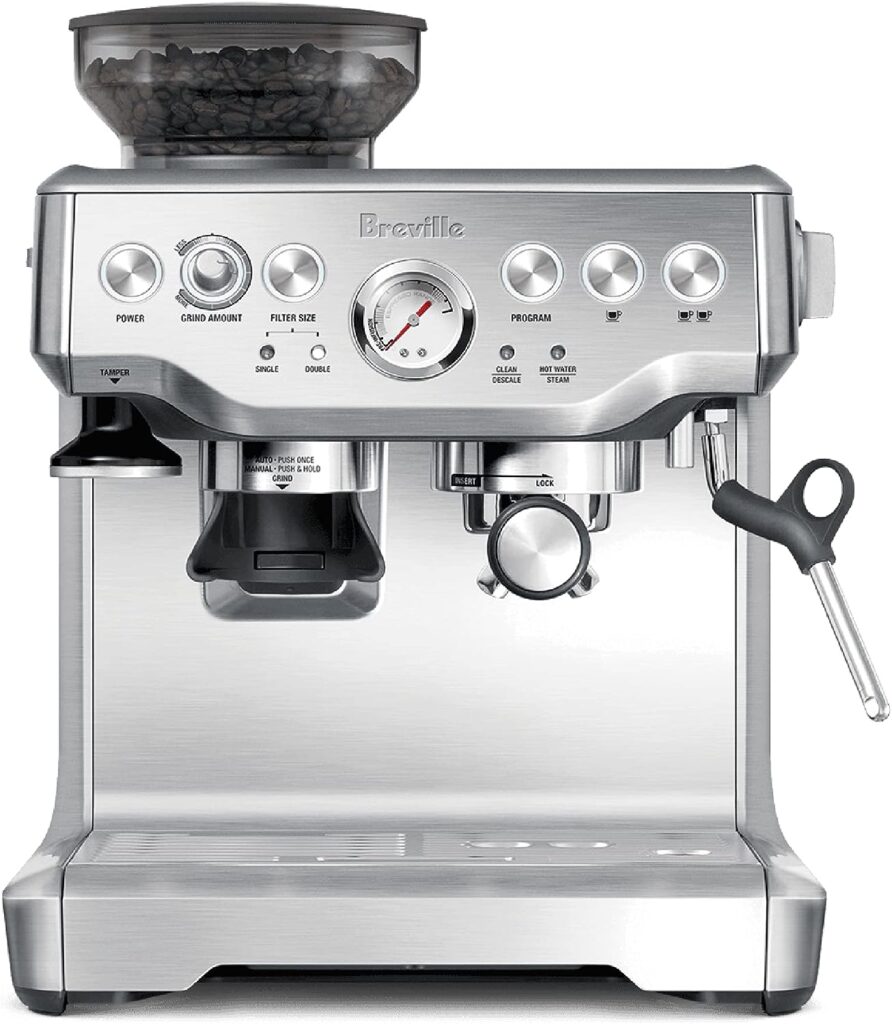
Why It’s Essential: The Breville Barista Express is a top-rated, all-in-one espresso machine that’s perfect for home baristas. It features an integrated conical burr grinder, precise espresso extraction, and a steam wand for perfect milk texturing—all crucial for creating latte art.
Product Highlights:
- Integrated grinder for fresh espresso.
- Digital temperature control (PID) for optimal extraction.
- Manual steam wand for microfoam milk texturing.
- Easy-to-use interface, ideal for both beginners and experienced users.
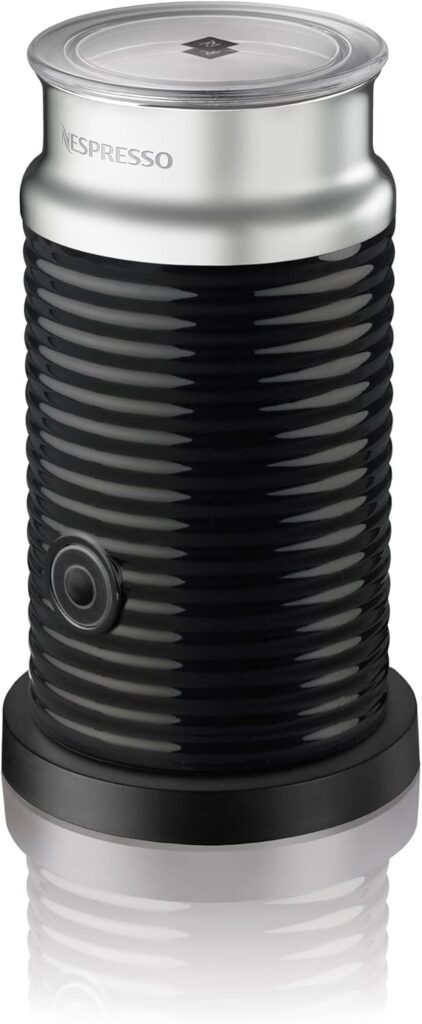
2. Milk Frother: Nespresso Aeroccino3
Why It’s Essential: For those who prefer a simpler setup, the Nespresso Aeroccino3 is an excellent milk frother that creates silky, smooth foam with the touch of a button. It’s perfect for beginners who want to start making latte art without the complexity of an espresso machine’s steam wand.
Product Highlights:
- Creates hot or cold milk froth in seconds.
- Compact and easy to clean.
- Perfect for achieving the ideal foam for latte art.
- Compatible with various types of milk, including non-dairy options.
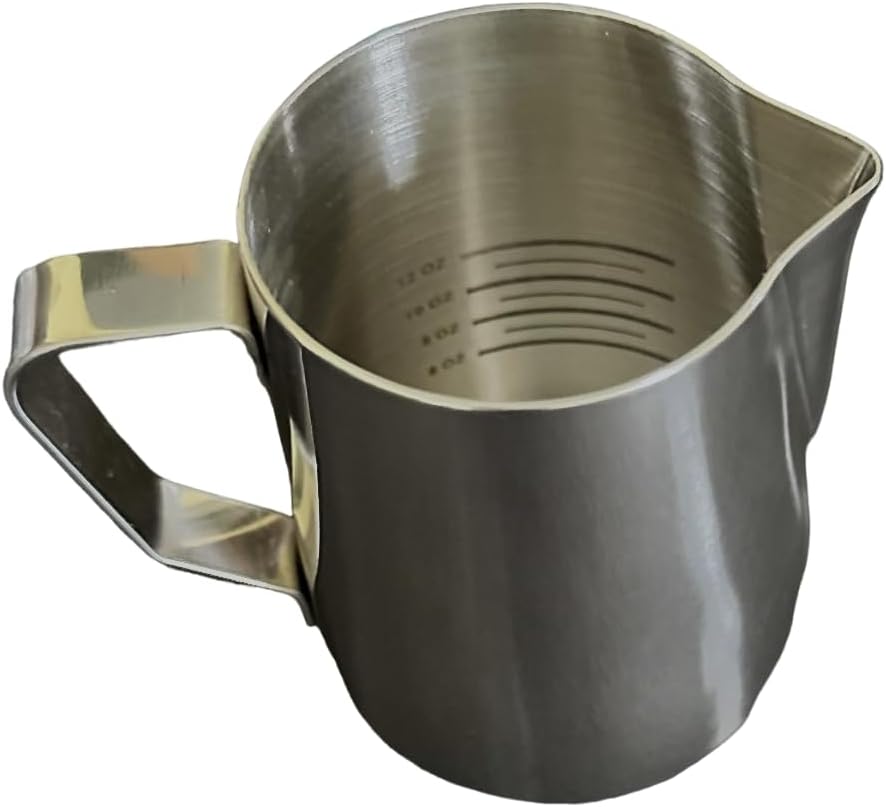
3. Milk Pitcher: Rattleware 12oz Latte Art Pitcher
Why It’s Essential: A high-quality milk pitcher is essential for controlling the pour and achieving intricate designs. The Rattleware 12oz Latte Art Pitcher is designed with a sharp spout for precision pouring, making it easier to create hearts, rosettas, and tulips.
Product Highlights:
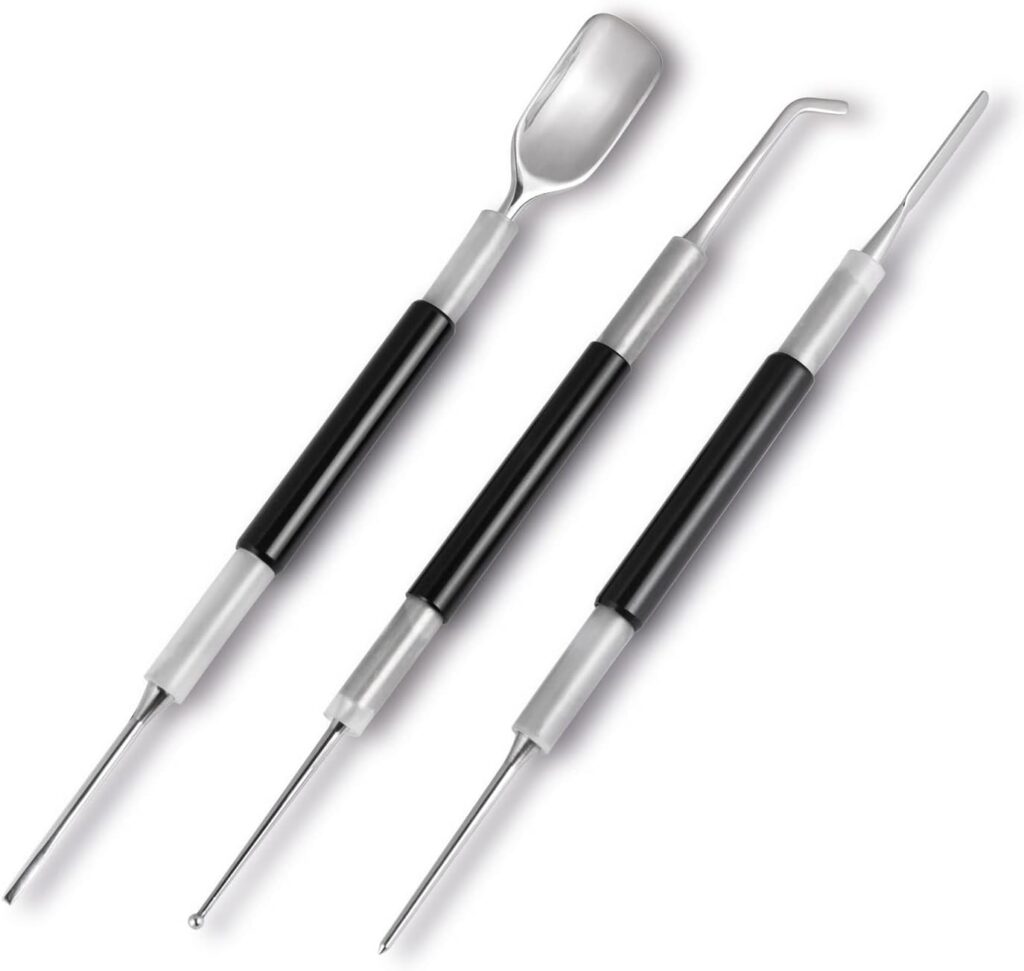
4. Latte Art Decorating Set: SANTOW Espresso Latte Art Tools, Spoon & Lance, Spatula & Spike and Knob & Hook Decorating Pen Set (3 Pieces)
Why It’s Essential: The SANTOW Espresso Latte Art Tools Set is a comprehensive kit for baristas who want to explore advanced latte art techniques. This 3-piece set includes a variety of tools designed to help you create intricate designs and patterns, adding a professional touch to your lattes.
Product Highlights:
- Spoon & Lance: Perfect for creating smooth lines and precise details.
- Spatula & Spike: Ideal for shaping foam and adding finishing touches.
- Knob & Hook: Excellent for drawing complex patterns and adding flair to your designs.
- Made from durable, food-grade stainless steel.
- Easy to clean and store, ensuring longevity and convenience.
5. Thermometer: Etekcity Digital Food Thermometer
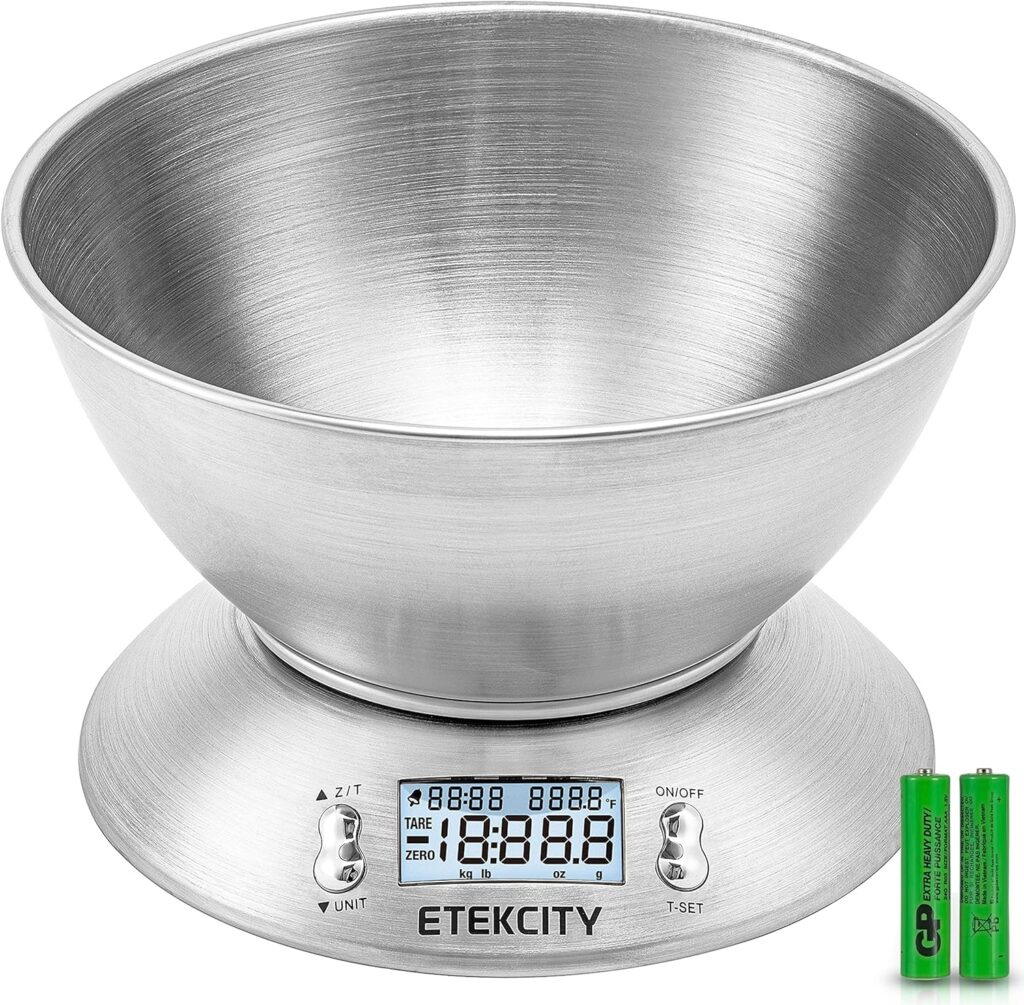
Why It’s Essential: Achieving the right milk temperature is critical for perfect latte art. The Etekcity Digital Food Thermometer provides fast and accurate temperature readings, ensuring that your milk is steamed to the ideal range of 140-150°F.
Product Highlights:
- Instant-read with a backlit display.
- Stainless steel probe for durability.
- Wide temperature range, perfect for milk and other kitchen tasks.
- Easy to clean and store with a foldable design.
8. Coffee Scale: Hario V60 Drip Coffee Scale
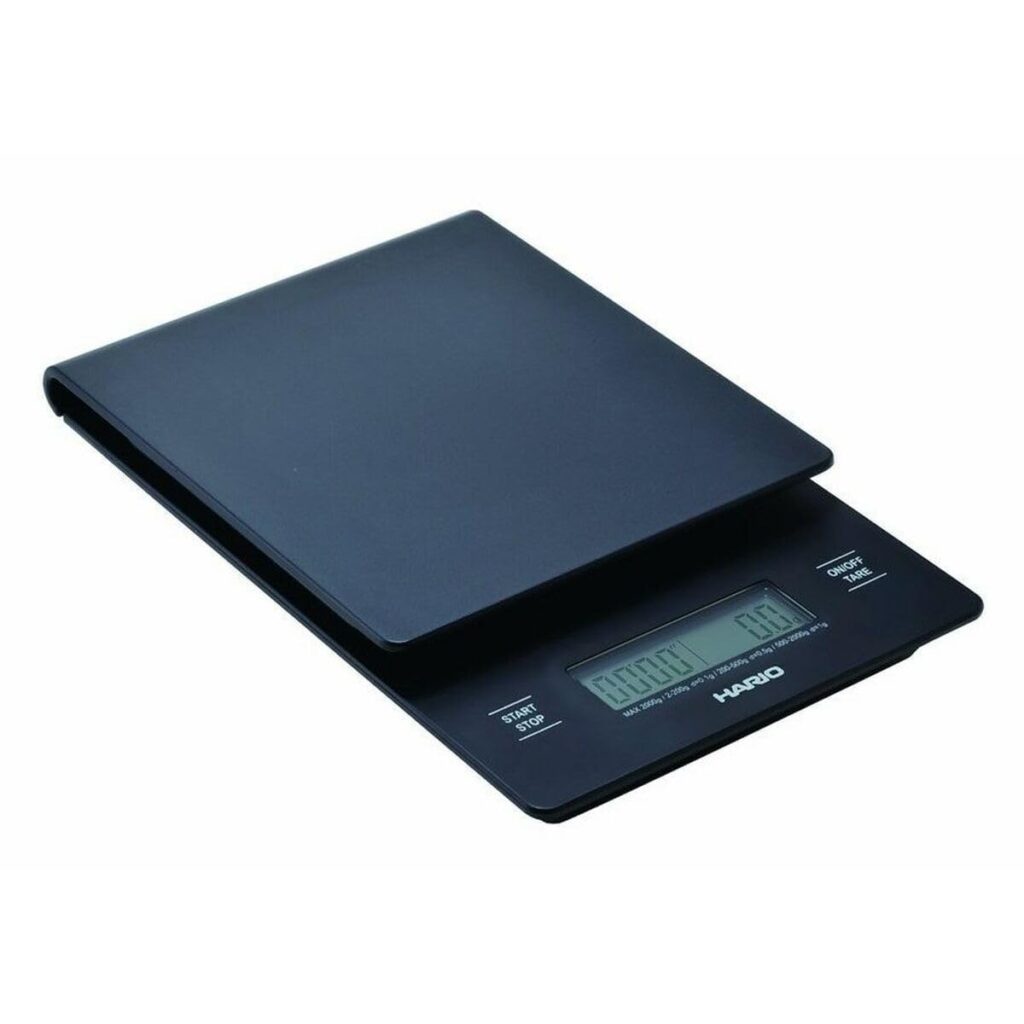
Why It’s Essential: Precision is key in making great coffee. The Hario V60 Drip Coffee Scale helps you measure your coffee grounds and water accurately, ensuring consistent results every time. It’s also useful for timing your espresso shots, an important factor in latte art.
Product Highlights:
- Measures in 0.1g increments for precision.
- Integrated timer for tracking brewing times.
- Sleek and compact design.
- Essential for consistency in coffee making.
The Ultimate Latte Art Tool Kit equips you with everything you need to start creating beautiful, café-quality latte art at home. Whether you’re a novice eager to learn or a seasoned coffee lover looking to refine your skills, these products will help you achieve the perfect pour every time. Start impressing your friends and even the most discerning baristas with your latte art creations today!
Frequently Asked Questions (FAQ) About Latte Art
1. What is latte art, and why is it important?
Latte art is the process of creating patterns or designs on the surface of a latte by carefully pouring steamed milk into a shot of espresso. It’s important because it not only enhances the visual appeal of your coffee but also indicates that the milk has been properly steamed and the coffee brewed correctly. It’s a mark of skill for baristas and home coffee enthusiasts alike.
2. Do I need special equipment to create latte art?
Yes, to create latte art, you will need a few essential tools:
- A quality espresso machine to brew the espresso.
- A steam wand or milk frother to create the necessary microfoam in the milk.
- A milk pitcher with a narrow spout to control the pour and create precise designs. These tools are crucial for achieving the right milk texture and control required for latte art.
3. What type of milk works best for latte art?
Whole milk is generally considered the best for latte art because it has the right balance of fat and protein, which helps create a smooth, velvety microfoam. However, you can also use alternative milks like oat or almond milk, though they might require more practice to achieve the same consistency.
4. How do I fix common issues in latte art, like poor contrast or blurry designs?
Common issues in latte art often stem from problems with milk texture or pouring technique. Here are some tips:
- Poor contrast: Ensure that your milk is properly steamed with fine microfoam, and try pouring from a higher position to integrate the milk better with the espresso.
- Blurry designs: This can happen if the milk is too thin or if the pour is too slow. Make sure your milk has a creamy texture and try to pour steadily and with control.
- Milk separation: If the milk separates, it could be due to overheating or over-frothing. Aim for a temperature of 140-150°F (60-65°C) and stop frothing once you achieve a silky, smooth consistency.
5. Can I make latte art with non-dairy milk?
Yes, you can make latte art with non-dairy milk, but it may be more challenging than with whole milk. Oat milk is often the preferred non-dairy option for latte art because it froths well and has a creamy texture. Almond and soy milk can also be used, but they may require a bit more practice to achieve the desired consistency.
6. How can I practice latte art at home?
Practicing latte art at home involves a few key steps:
- Start with simple designs like the heart or Rosetta to build your confidence.
- Focus on steaming your milk to the right texture and temperature.
- Practice pouring techniques by using water with a few drops of dish soap to simulate milk—this allows you to practice without wasting coffee.
- Keep trying and experimenting with different designs to improve your skills over time.
7. How long does it take to master latte art?
The time it takes to master latte art varies from person to person. With regular practice, most people can start creating basic designs like hearts or tulips within a few weeks. More intricate designs, like swans or 3D art, may take several months of consistent practice to perfect. The key is patience, persistence, and enjoying the process!
8. Can I drink the latte art after making it?
Absolutely! Latte art doesn’t affect the taste of your coffee—it simply adds to the overall experience. In fact, a well-made latte with beautiful art should taste just as good as it looks, with smooth, creamy milk blending perfectly with rich, flavorful espresso

